OmniHuman2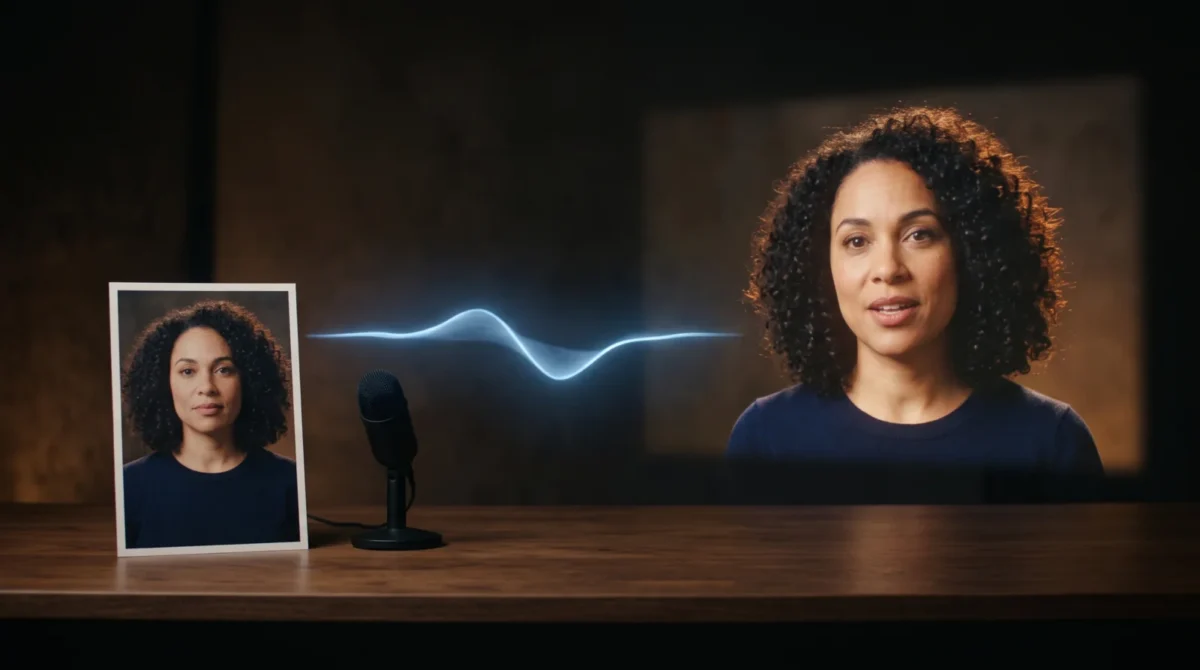
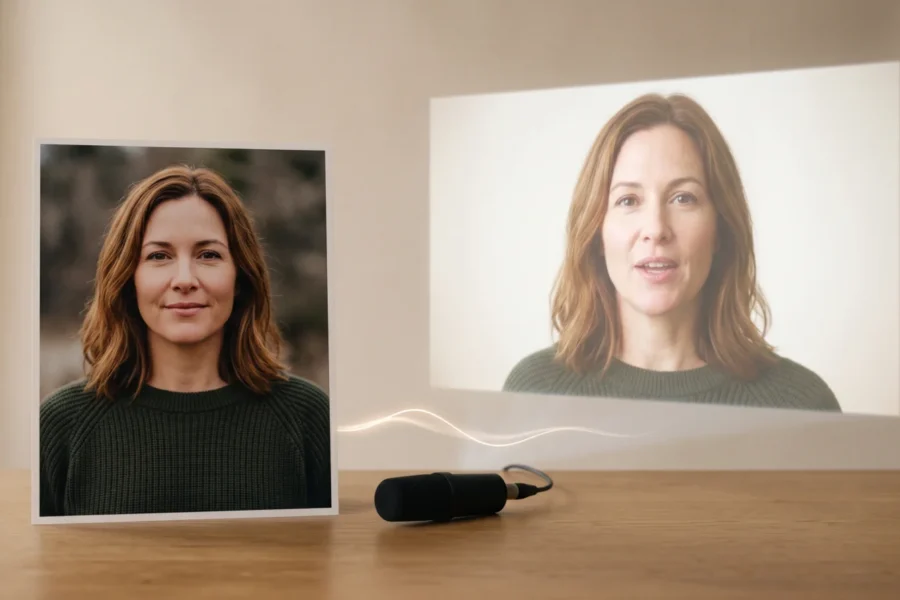
OmniHuman 2.0 turns one image and an audio track into a talking or performing video. To use it, prepare a clear subject photo and a finished recording, choose the film-grade or avatar option on BytePlus, then submit the pair and review the result. Add a text prompt only when you need a particular action or camera move.
Start with the right access route
The BytePlus product page links both an Access API entry point and a Try it now console entry point. Start there rather than treating a reseller’s upload form as the official interface. If you need to build this into an app, follow BytePlus’s linked API documentation from the product page; the product overview doesn’t give you a complete request schema or a reliable list of console menu names.
The same page describes the basic input as a single image plus audio, with text optional. Bring both files. Then open the console. If access is gated on your account, use the site’s contact-sales route rather than assuming an invitation, a free trial or a public demo slot exists. BytePlus’s public product page doesn’t specify a free trial, supported speech languages, regional access or commercial-use terms. Confirm those in the current account documentation or with BytePlus before making a client promise.
There’s a distinction worth settling early: are you making an expressive scene, or a tightly framed presenter? The film-grade listing calls out camera and body movement plus multi-person scenes; the avatar listing emphasizes lip sync from one image and an audio file. The buttons look alike. The jobs don’t.
Prepare the photo and audio before submitting
A good first attempt is one face, unobstructed, in a chest-up composition. Keep the mouth visible and leave room around the shoulders if you’ll ask for a turn or a gesture. That’s a craft choice. It isn’t a BytePlus specification. The reference-image guide goes deeper on framing; for this first pass, choose the picture you could use as the opening frame of the finished shot.
Record or export the final spoken line separately. Cut false starts, leave a short breath before the first word and listen for clipped consonants. Edit the script first. A rejected line costs less than a rejected render. Don’t confuse practical audio prep with formal file rules: the product overview doesn’t state which file formats, sizes or audio durations the submission form currently accepts. Read the instructions shown by your actual BytePlus route before you export to a specific format.
Keep your first script short enough that you can listen to it end to end in one sitting. Name the deliverable before generating: for example, a single presenter delivering one product explanation at a desk. If your chosen tier has a minimum length, check that your recording and intended edit fit it; BytePlus specifically advertises 30 to 300 seconds for the film-grade offering, but doesn’t place that exact range beside the avatar tier on the public page. Don’t transfer that limit to the avatar tier.
Run one controlled pass
- Open the official OmniHuman 2.0 page and choose the console or API path offered to your account. Select the offering that matches the shot: film-grade for broader body and camera direction, avatar for a presenter whose mouth movement matters most. Check the current instructions inside the selected route before filling any fields.
- Supply one reference image and the finished audio. The product page says those two inputs are the basis of the generation, with an optional text prompt. For a first pass, keep the text plain: “Chest-up speaker at a desk, steady camera, gentle head turn near the end.” That’s a suggested direction, not a tested recipe or a guarantee that each motion will appear.
- Submit according to the console or the current API docs, and save the returned output where you can inspect it at full size. BytePlus lists native 720p output; plan any crop for a vertical ad with that source resolution in mind rather than assuming you can recover detail later. Don’t build against endpoint names copied from an unrelated vendor.
- Watch the face at the start, middle and end. Check whether consonants appear to align with the audio, whether the eyes drift and whether a requested hand movement cuts out of frame. If one part fails, change one input at a time. One variable per retry. Change two and you lose the lesson.
For more controlled wording, see the site’s camera and gesture prompt examples. BytePlus describes text control for camera moves and actions. It also says prompts can add objects. Keep the first instruction lean. Start with the camera instruction and one action; keep the rest of the scene anchored in the image.
Budget the retry, not just the final video
The public BytePlus pricing display quotes $0.07 per second for film-grade and $0.12 per second for the avatar option. For a 90-second film-grade generation, the visible arithmetic is 90 s × $0.07/s = $6.30. Two complete 90-second tries at that same published rate would be 2 × 90 s × $0.07/s = $12.60, before any other account-specific charges. Check billing in your own account; a public per-second price doesn’t explain every billing condition.
The film-grade page advertises a 30-second minimum. At its stated rate, one 30-second attempt is 30 s × $0.07/s = $2.10. The avatar price implies 30 s × $0.12/s = $3.60 for 30 billed seconds, but don’t interpret that calculation as an official avatar minimum or a promise that a 30-second avatar request is accepted. This matters if your actual edit is a ten-second ad. My choice would be to test the opening and closing frame on the cheapest valid duration the account allows, then commit to the longer script after the character looks right.
Record the image and audio versions after each try. Put the prompt in the same row; add tier, billed seconds and the one defect you noticed. A plain filename such as desk_read_audio2_prompt1 is enough. When a shot is good except for a late mouth mismatch, that log stops you from accidentally returning to an earlier, worse photo. Count the failed attempts too. They belong in the budget.
Handle the final edit outside the generator
Treat the delivered video as raw footage. Trim unwanted lead-in, check that the first spoken syllable survives your edit and listen once on a phone speaker. If the intended placement is a narrow social frame, preview the crop before adding captions; 720p source footage doesn’t leave endless room to punch in. Do this on every export.
If you’re pitching a multilingual campaign, don’t write “supports every language” in the brief. BytePlus’s public OmniHuman page describes audio-driven performance but doesn’t publish a supported-language list there. Get that requirement confirmed for your account first, then have a native speaker review the delivered line. Also get usage rights and any required disclosure settled before publication; the product overview alone doesn’t settle commercial terms for your specific job.
For the broad model picture, start at the independent OmniHuman 2.0 site; its features and limits guide is handy beside your production notes. If you’re editing captions, leave a little room above the bottom edge of the crop so the presenter’s mouth stays visible. That’s a small decision you can’t fix with a longer generation prompt.