OmniHuman2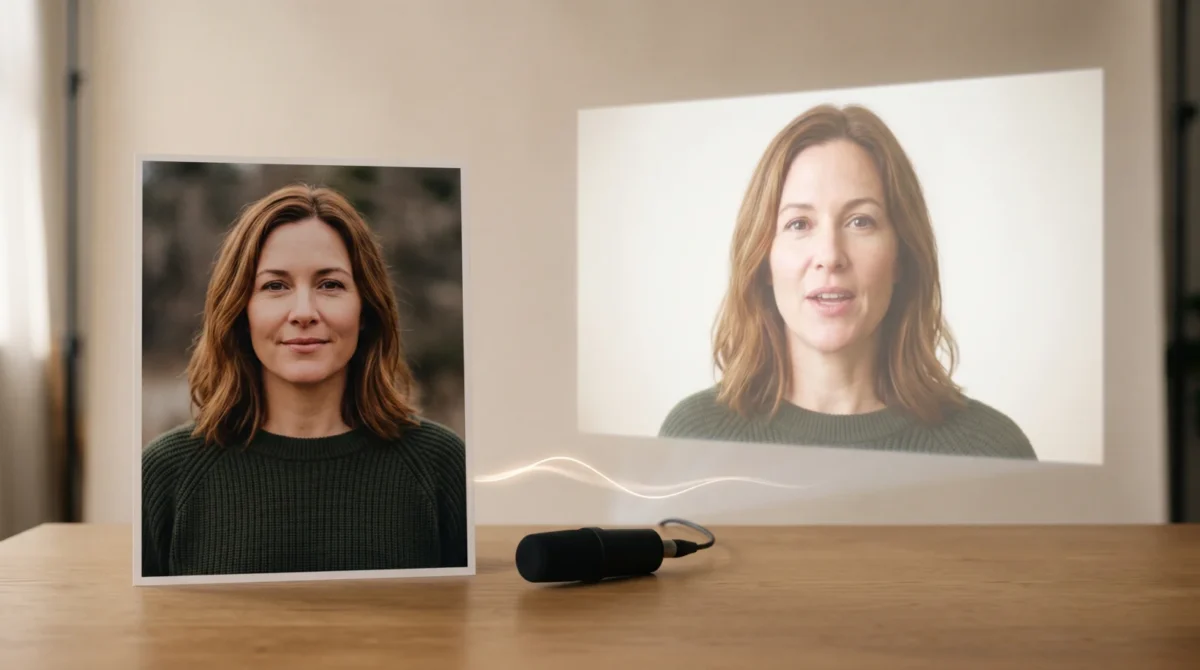
A talking video from one photo needs a clear portrait and the words you want spoken. With OmniHuman 2.0, you supply that image and audio, then optionally describe the shot in a text prompt. Check the mouth before using the result. The photo supplies the look, not the voice.
Start with a photo the shot can support
Pick the photo for the shot, not merely because the person looks good in it. For a straightforward spoken explainer, choose a sharp, front-facing portrait with the lips visible and some space around the shoulders. A tiny face in a group photo gives the system less visual information about the person you want on screen. A cropped selfie leaves little room for a wider shot. Tight framing costs options.
Those are editing judgments, not official upload requirements. The BytePlus product page describes a single image plus audio as the core inputs and says text prompts can guide motion. It doesn’t promise that a blurred mouth, an obscured jaw or a missing torso will be reconstructed exactly as you imagine. If the source has sunglasses over the eyes or a hand across the face, find a cleaner image before paying for another render, because each visible feature you need to preserve in the finished shot should already be clear enough to inspect in the original portrait. You can’t prompt your way back to a face the photo doesn’t show.
Match the source framing to the final placement. A head-and-shoulders image works for a vertical talking head, while a waist-up source is more sensible if the planned scene includes an arm gesture. Leave the area around hair and shoulders uncluttered when possible. For a longer photo-selection checklist, see the reference image tips. Make sure you have permission to use the person’s likeness and the recording; a familiar face isn’t automatic consent.
Record the line before describing the motion
Write the spoken line, then listen to the actual recording once without looking at the picture. Can you hear the first word? Does the last syllable have room to finish before the file ends? Trim the dead air at the beginning, but don’t cut the final consonant just to make the clip shorter. Edit the audio first. It is cheaper than a paid video generation.
The official product description says the model combines an image with audio and optional text. The ByteDance prompt guide linked there says actions can respond to the meaning of audio even without a text prompt. Start there. Prepare clean audio; add directions only where the scene needs them. Don’t write every word of the narration again as a prompt and assume that will repair a muffled recording.
For a spoken product introduction, try an audio track with a deliberate pause after the name. You can request a small gesture on that beat. Check whether it lands. No pause? Drop the gesture. With continuous speech and no break, asking for a dramatic pause followed by a new expression is an awkward brief. Hear the gap first. Give the editor a real pause to work with.
Build the first version on BytePlus
- Open the BytePlus OmniHuman 2.0 page and follow its current console or API route. If you need integration details rather than the web interface, start with the official API documentation; don’t assume an old menu label still exists.
- Select the image and the finished audio. Keep the source files locally with clear names so the next attempt uses the same inputs. Change the photo halfway through and your prompt comparisons lose value. Keep it fixed.
- Leave the optional text prompt empty for a plain first pass, or use one simple shot direction: “The speaker faces the camera in a steady chest-up shot and gives one restrained nod near the end. Keep the face visible.” This is a suggested brief, not a guaranteed result.
- Choose the tier that fits your task, review the displayed settings and price, then submit. Download the output and play it at normal speed before judging a paused thumbnail. Your console is the final authority for controls and duration. Check it.
BytePlus lists native 720p video output on the product page. That is an output specification. It won’t save an aggressive close crop. Frame for your eventual edit rather than planning to rescue a distant face later.
Keep prompts smaller than the story
A photo-to-talking-video job usually needs less direction than a music video. If the photo shows only a face, a direction to walk across a room asks the system to invent most of the body and environment. Start with a fixed frame. After you know the face is usable, change one thing at a time: perhaps a small push-in, or a glance toward the empty side of the frame.
The official prompt guide explicitly discusses moving characters, camera motion and background elements; the product page also advertises gesture and camera control. Those controls reward restraint. Five scene changes in a voice memo? Too much. State the shot you actually need. For shot-by-shot wording, the camera and gesture prompt examples go further than this basic workflow.
I would pay for the simplest shot that carries the line. One clean speaking face beats a camera orbit that makes a short explainer hard to crop. If you need a branded background or on-screen captions, add those in your editor after inspecting the generated footage; don’t treat a text prompt as a layout tool.
Price the attempt and inspect the export
BytePlus currently lists a film-grade tier at $0.07 per second, with a stated 30-to-300-second output range, and a separate avatar tier at $0.12 per second. At the listed film-grade rate, a 30-second job is 30 s × $0.07 = $2.10. A second full-length attempt brings those two generations to 2 × $2.10 = $4.20 at that tier, before any account-specific charges. Don’t apply the film-grade duration range to the avatar tier: the page presents them as different offerings. The pricing breakdown has more examples.
Inspect the mouth on the first stressed word, then the face during the longest vowel. No hands in shot? Don’t hunt for hand defects. Scrub the final second: does the speaker’s expression settle before the cut, and is there room for an end card? If a cut feels abrupt, edit the audio tail or allow a little space in the next planned recording. Don’t spend a whole retry chasing a cosmetic issue you can fix in the timeline.
Keep the photo and audio next to the export. Record the exact prompt and tier too. Give the next version a filename that says what changed, such as portrait-fixed-shot-v2, not final-final. If an output looks wrong, change one input and compare the same second of the clip. The independent OmniHuman 2.0 overview is there if you need the model’s broader context before setting up another job.